So, your company has invested in HubSpot and it’s now your job to get it set up. The question is, where do you even begin? The setup phase is important, so it’s essential that you get this part right. Whether you’re working across the Marketing Hub, Sales Hub, CRM, Service Hub, or HubSpot CMS, this article will show you exactly how to setup your HubSpot Portal for success, right from the beginning.
Imagine having a guide, a clear, step-by-step roadmap that shows you exactly what you need to do, step by step, to set up your HubSpot portal. That’s where we come in.
After working on over 350+ HubSpot Portals for businesses across a variety of niches, you could say we know our stuff. Our expertise isn’t just in the technical tools; it’s in understanding the practial application and hurdles you’re facing right now. We’ve guided many other businesses in your exact position.
So, here’s our promise to you: by the end of this article, you’ll learn how to set up your HubSpot portal for the Marketing Hub, Sales Hub, CRM, Service Hub, and CMS.
What You Need to do Prior to Setup
Before you dive into the specifics of each HubSpot hub, it’s crucial to lay a solid foundation. This initial step ensures that your journey with HubSpot is as smooth and effective as possible. Whether you’re setting up the Marketing Hub, Sales Hub, CRM, Service Hub, or CMS, understanding the basics is your first port of call.
Here’s what you’ll want to start with:
- Familiarise yourself with the HubSpot interface
- Customer Journey Mapping
- Understand Lifecycle Stages, Deal Stages and Lead Status
- Access the HubSpot Projects tool
1. Familiarise Yourself with the HubSpot Interface
First things first, take some time to explore the HubSpot interface. Familiarise yourself with the dashboard, where you can access each Hub and its features.
Here’s a handy guide from HubSpot on the basic interface and navigation within HubSpot.
This overview will make navigating the platform much more intuitive as you set up different components.
2. Customer Journey Mapping
Understanding your customers’ journey is crucial before you start setting up your Hubs.
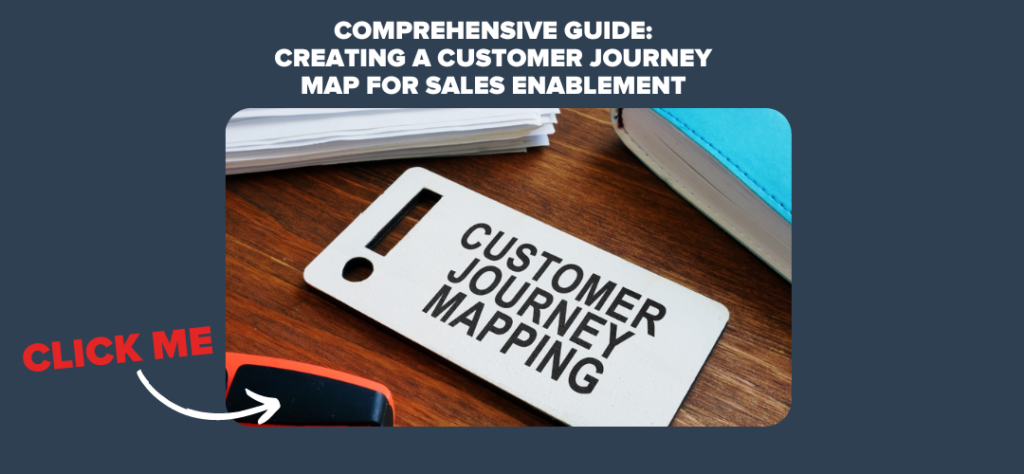
Customer Journey Mapping (CJM) outlines every touchpoint your customers have with your business, ensuring that as you configure each Hub, you do so with your customer’s experience in mind.
This step is about making every interaction as meaningful and efficient as possible.
You can learn about how to create a Customer Journey Map below.
Read: Creating a Customer Journey Map for Sales Enablement
3. Understand Lifecycle Stages and Deal Stages
A common area of confusion for new HubSpot users is the difference between Lifecycle Stages, Deal Stages and Lead Status.
It’s essential that you get your head around these before you get started on your HubSpot journey.
Here’s a guide that explains each of these: The Difference Between Lifecycle Stages, Deal Stages, and Lead Status in HubSpot.
4. Access the HubSpot Projects Tool
HubSpot simplifies the setup process through its Projects tool. This feature offers a structured path, guiding you through each step with predefined projects and tasks depending on what Hub/s you have subscribed to.
You can access it directly here. Or, you can click on your organisation name in the top right corner and then select ‘Projects’ from the dropwdown menu.

These projects are tailored to each Hub, providing you with a checklist to ensure you don’t miss any critical steps.
If you just follow the checklists that these projects provide you, most of the setup phase will be complete. However, below we cover the admin tasks you’ll want to make sure you do first before delving into any Projects as well as giving you a handy setup checklist to tick off for each Hub.
Admin Setup Tasks
The next step is to complete some basic, but important, admin tasks. These include:
- Importing your contacts
- Setting up your email
Importing Your Contacts Into HubSpot
There are many ways you can import your contacts into HubSpot and the method you use will be different depending on your company’s specific scenario.
For a full guide on how to import your contacts into HubSpot, read the below article.
Read: How to Import Your Contacts Into HubSpot
Setting Up Your Email
In HubSpot, it’s important to set up your email so that you can send one to one emails through the CRM, log email replies to the CRM, send sequences emails, and install HubSpot Sales to access the sales tools in your inbox.
Check out the full guide on how you can setup your email through HubSpot.
The Ultimate HubSpot Setup Checklist
Realistically, HubSpot Projects will help you setup the basics of your HubSpot portal. However, if you wanted a separate checklist to follow along to, here’s one example of what your checklist could look like:
| Task Category | Marketing Hub | Sales Hub | CRM | Service Hub | CMS |
| Initial Configuration | – Define content strategy | – Set up deal stages | – Import contacts, companies, deals | – Implement ticket system | – Choose and apply a website theme |
| – Configure blog settings | – Connect email for tracking and sending | – Customize contact and company properties | – Create a knowledge base | – Set up domain | |
| – Set up email templates | – Configure meeting scheduling | – Set up lead scoring | – Set up customer feedback surveys | – Design homepage layout | |
| Lead Generation | – Create and integrate forms | – Utilize lead scoring to identify sales-ready leads | – Create and manage deal pipelines | – Implement live chat for instant customer communication | – Add call-to-action (CTA) buttons |
| – Design landing pages for campaigns | – Automate lead rotation to sales team | – Monitor and clean data regularly | – Set up email templates for customer service | – Create about us and contact pages | |
| Content & SEO | – Implement SEO tools for keyword research | – Create sales email templates for outreach | – Create and manage service cases | – Optimize web pages for SEO | |
| – Plan content calendar | – Use documents tool for sales materials | – Organize and categorize tickets | – Blog setup and management | ||
| Engagement & Automation | – Set up email marketing campaigns | – Configure sales sequences | – Custom reports and dashboards | – Automate ticket routing and escalation | – Implement site search functionality |
| – Integrate social media accounts | – Set up playbooks for consistent sales messaging | – Integrate with marketing, sales, and service Hubs | – Set up automated customer satisfaction surveys | – Use website analytics for insights | |
| – Automate workflows for lead nurturing | – Track and analyze sales activities | – GDPR compliance settings | – Utilize customer service automation tools | – Personalize web content for visitors | |
| Analytics & Reporting | – Analyse campaign performance | – Analyse sales pipeline and performance | – Analyse customer interaction data | – Analyse ticket volume and response time | – Analyse website traffic and user behavior |
| – Track website and email engagement | – Sales forecasting | – Contact lifecycle stage reporting | – Customer feedback and survey analysis | – Conversion rate optimization analysis |
So, to sum up, I need to…
To sum up, here’s what you need to do:
- Build your Customer Journey Map
- Understand the difference between Lifecyle Stages, Deal Stages and Lead Statuses
- Important your contacts into HubSpot
- Setup your email in HubSpot
- Access HubSpot Projects to start setting up your HubSpot portal
- Use our example checklist as a second guide on top of HubSpot Projects, if you like
After you’ve set up your HubSpot Portal, you’ll want to start using it the right way. Check out some of the best features that HubSpot has to offer below.


